Bimini Twist
The Bimini Twist is a very useful and well know but often dreaded knot. It is a 100% knot (it maintains 100% of the original line strength) and is the best means of forming a double line without sacrificing strength. It also has built in shock absorption, as the knot stretches when hit with enough force. The Bimini Twist is often used as the basis for big game leaders (the doubled line of a Bimini in one end is used to tie a huffnagle to join a section of shock tippet and a matching Bimini in the other end is used to form a doubled loop with a Surgeon's Loop to attach to the rest of the leader) and for fast running hard fighting inshore species like bonefish. The loose wraps as the tag end starts to wrap back down the knot are necessary to keep the line from kinking and forming a weak point.
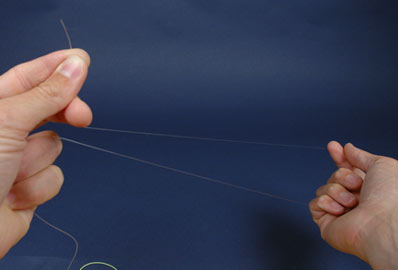
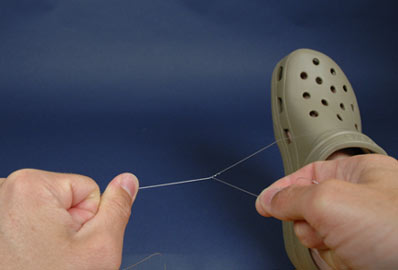
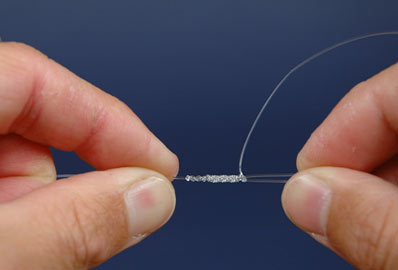
1: Start by pulling out about plenty of material (start with about 6' to give yourself some extra). Form a long loop of material by holding the tag end and standing line in one hand and insert your other hand through the loop.
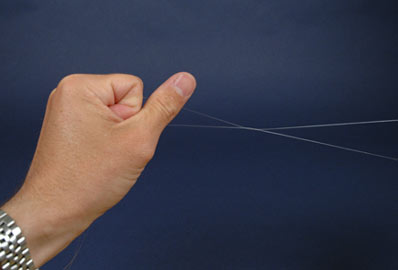
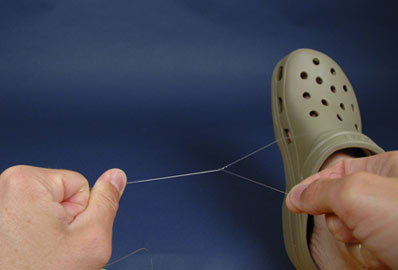
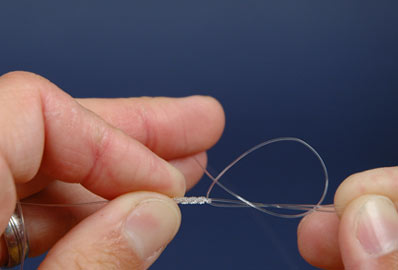
2: Twist the material by rotating your hand.
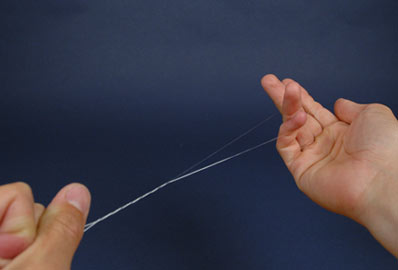
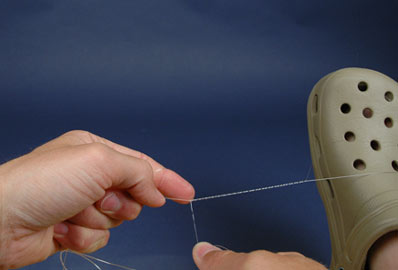
3 - 6: Put at least 20 twists in the material by rotating your hand.
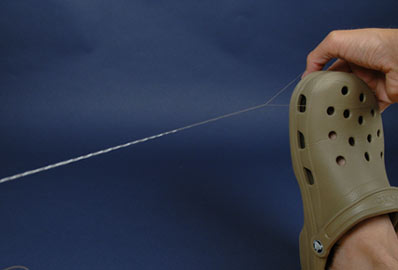
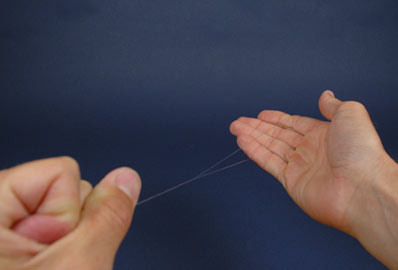
7: Put the loop in the end over your knee, foot or another object.
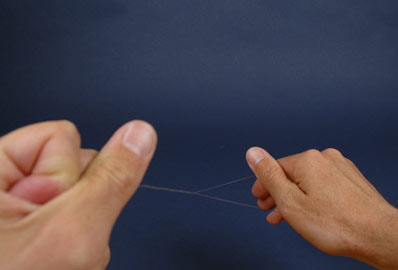
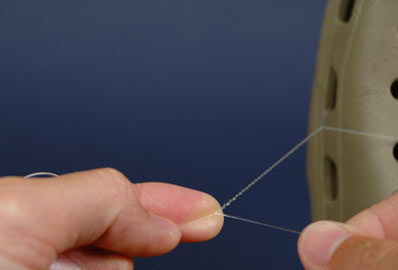
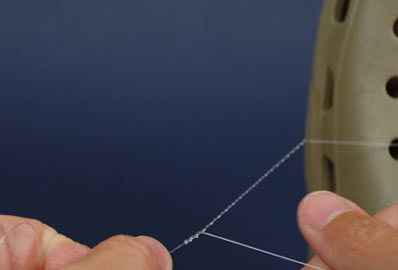
8: Grab the standing line in one hand and the tag end in the other. Start to move the wraps together by spreading the two legs (standing end and tag end) apart, never exceeding an angle of 90 degrees.
9 - 10: Continue until the wraps start to come together.
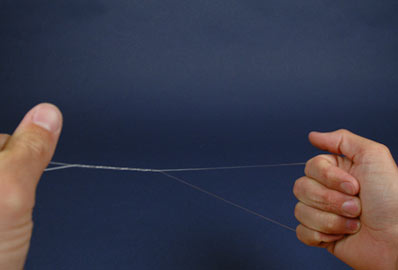
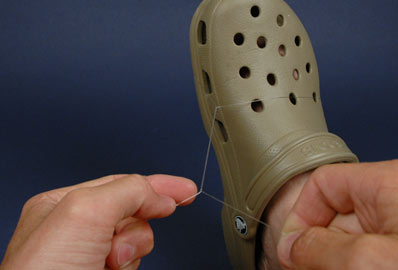
11: When the wraps start to come together you will feel the wraps at the top want to start jumping over onto those below. At this point place the index finger of the hand holding the tag end along the side of the knot to keep it from unwrapping.
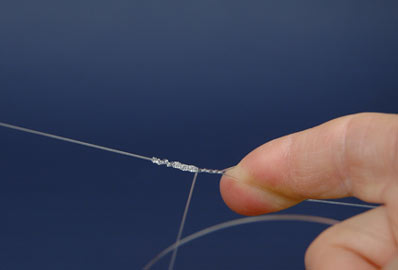
12: While putting pressure on the knot with your finger move the other hand with the tag end down until it comes straight out from the knot.

13 - 14: Gradually release pressure with your finger to allow the tag end to start wrapping back over the existing wraps. Form 3 wraps with some space between them (loose wraps).
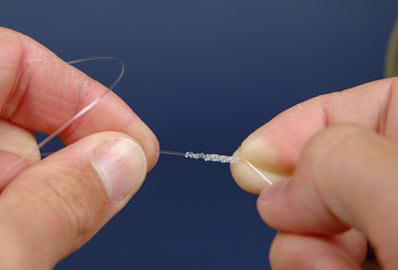
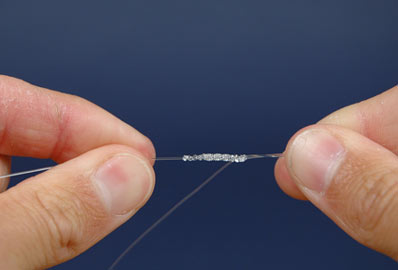
15 - 16: Continue to wrap the tag end down the knot with the remaining wraps being side by side (barrel wraps). Part of the way down the knot you may lose momentum. When this happens put a finger behind one of the legs and pull towards you to increase tension and keep the knot spinning.
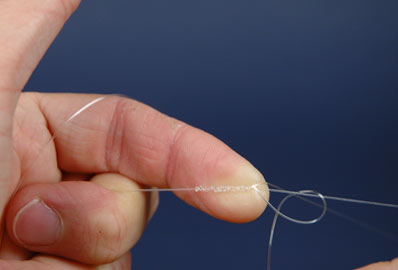
17 - 18: When the wraps are completed you will need to lock the knot. First do a half hitch around one leg. Lubricate and pull tight.

19 - 20: Then turn the knot over (this helps the lock knots to lay flat rather than bulge out on one side) and do a series of 3 or 4 linked half hitches around both legs of the knot.

21: Lubricate the lock knot and seat it firmly.
22: Cut the tag ends (leave a little extra).
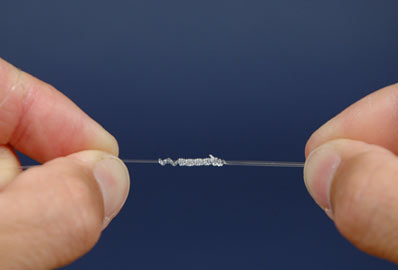
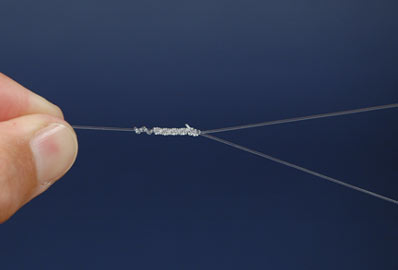
21: The finished knot.
Our brands
